Include the nursery dresser in the furniture-anchor plan
A nursery dresser can be chosen for its drawers, finish or changing height while its anti-tip connection remains in the box. Treat anchoring as part of making the room ready. The practical question is how the actual furniture and wall will be secured according to instructions before a child can interact with them.
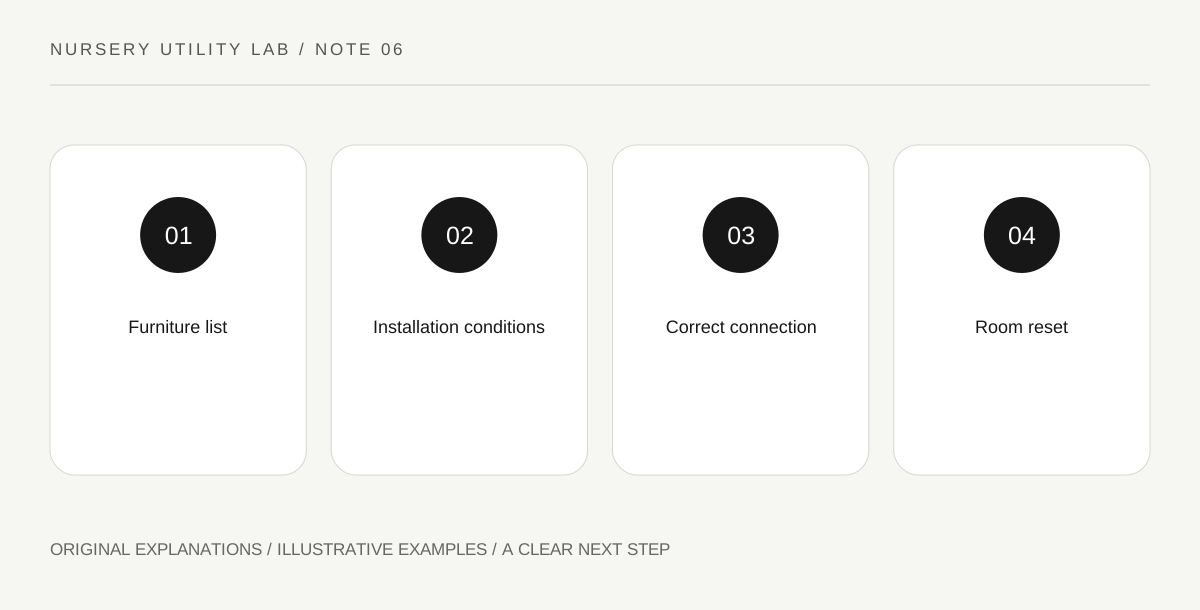
Original explanatory diagram. Read the full method and limitations below.
List furniture by access rather than room name
Review the nursery and adjacent spaces where the child will spend time. Include bookcases, chests and other furniture with storage, not only the largest dresser. A low-looking item should not be assumed harmless from appearance. Record which pieces have the appropriate anti-tip connection installed and which still need attention. This makes a specific preparation list rather than a general declaration that the room has been babyproofed because its corners are covered.
Match the anchor to the installation conditions
CPSC's Anchor It guidance tells families to follow manufacturer instructions for securing furniture. Obtain the instructions for the dresser and anchoring device, including the suitable wall connection. Do not guess a fastener from a spare household assortment. If the wall construction or installation is unclear, use qualified help. A visible strap does not prove that its attachments are appropriate. The completed installation needs to correspond to the actual furniture and supporting surface.
Remove reasons to climb
CPSC advises keeping tempting objects such as toys or remote controls off furniture tops. Apply that idea to the nursery's everyday arrangement: attractive objects should not invite reaching up a stack of drawers. Decide where adult supplies and children's play objects belong. Anchoring and removing climbing temptations serve different parts of the problem, so completing one does not justify ignoring the other. Do not demonstrate climbing to test whether the connection seems strong enough.
Revisit the connection after a room change
A dresser moved for painting or a new room layout may no longer be attached as it was before. Include anchoring in the return-to-use task rather than assuming the earlier installation still applies. Keep the instructions available with the furniture's identity and use appropriate help for reinstallation. A checklist entry should say what is complete and what remains unresolved. Avoid describing a room as ready while a disconnected anchor lies behind the dresser awaiting a convenient afternoon.
Illustrative worked example
Illustrative room reset: A family moves the dresser to clean behind it and disconnects the anti-tip device. Before using the room again, they arrange correct reinstallation for the new position and move appealing toys to appropriate low storage. Their note identifies the dresser, instructions and unresolved wall question. The example does not specify a universal screw or claim that a household pull test certifies the installation.
Questions that come up
Does a heavy dresser need no anchor?
Do not decide from perceived weight. Follow CPSC guidance and the furniture’s instructions for securing it appropriately.
Can I test safety by opening every drawer?
Do not use an improvised tipping experiment as certification. Arrange correct installation using the actual instructions and qualified help when needed.
References and scope
These sources support the factual background. Examples and exercises are original illustrative teaching material. References do not imply endorsement.
- CPSC: Anchor It — Secure furniture using manufacturer instructions; remove climbing temptations.